PowerPoint Accessibility Checklist
For creating accessible PowerPoint presentations
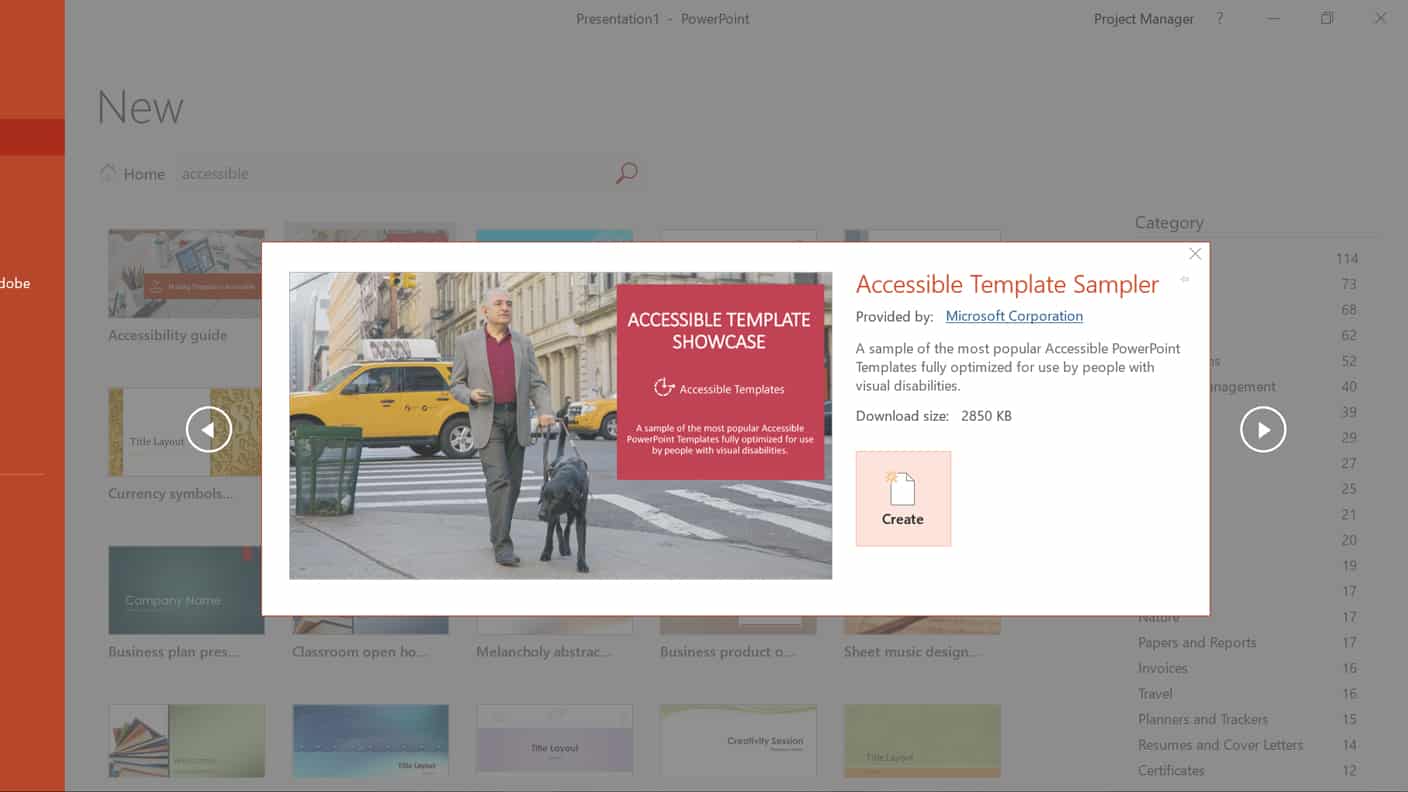
Use an accessible PowerPoint template
Planning and structuring your PowerPoint correctly from the start, will maximize the accessibility of your document and ensure they are available to a wider range of audience. PowerPoint contains various built-in layouts that are already accessible. Selecting one of them is a great way to get started.

PowerPoint accessibility checklist
- Fill in the metadata for your document. The metadata is located in the file properties. (author, title, tags and comments)
- Every slide must have a unique title. If you do not wish to display the title, make it match the background color.
- Be consistent with the font and font-sizes used in your presentation.
- Avoid using slide transitions, animations or automatic slide transitions.
- Try not to overcrowd slides with too much content.
- Delete any empty paragraphs, bullets or lists.
- Make sure to use text-boxes for text and not shapes.
- Delete all unnecessary or empty elements on each slide, including any text or boxes behind images, as the tagging process will pick these up and cause issues.
- Transcripts are the minimum requirement for audio or video files. Ensure every audio and video file in your document has a transcript.
- Wherever possible, group separate objects together if they are meant to be part of the same figure. Remember to apply alternate text (alt-text) to the grouped object.
- Complex graphics should be described in the body of a slide, in the notes section, or on an appendix slide. It is important that alternate text is applied to a chart or graph to describe the overall purpose of the figure.
Alt-text descriptions
You will need to add alt-text descriptions for all non-text elements on all of your slides. Please see our article on alt-texts descriptions for complete details.
Check the reading order
To check the order in which your slide content will be read back, do the following:
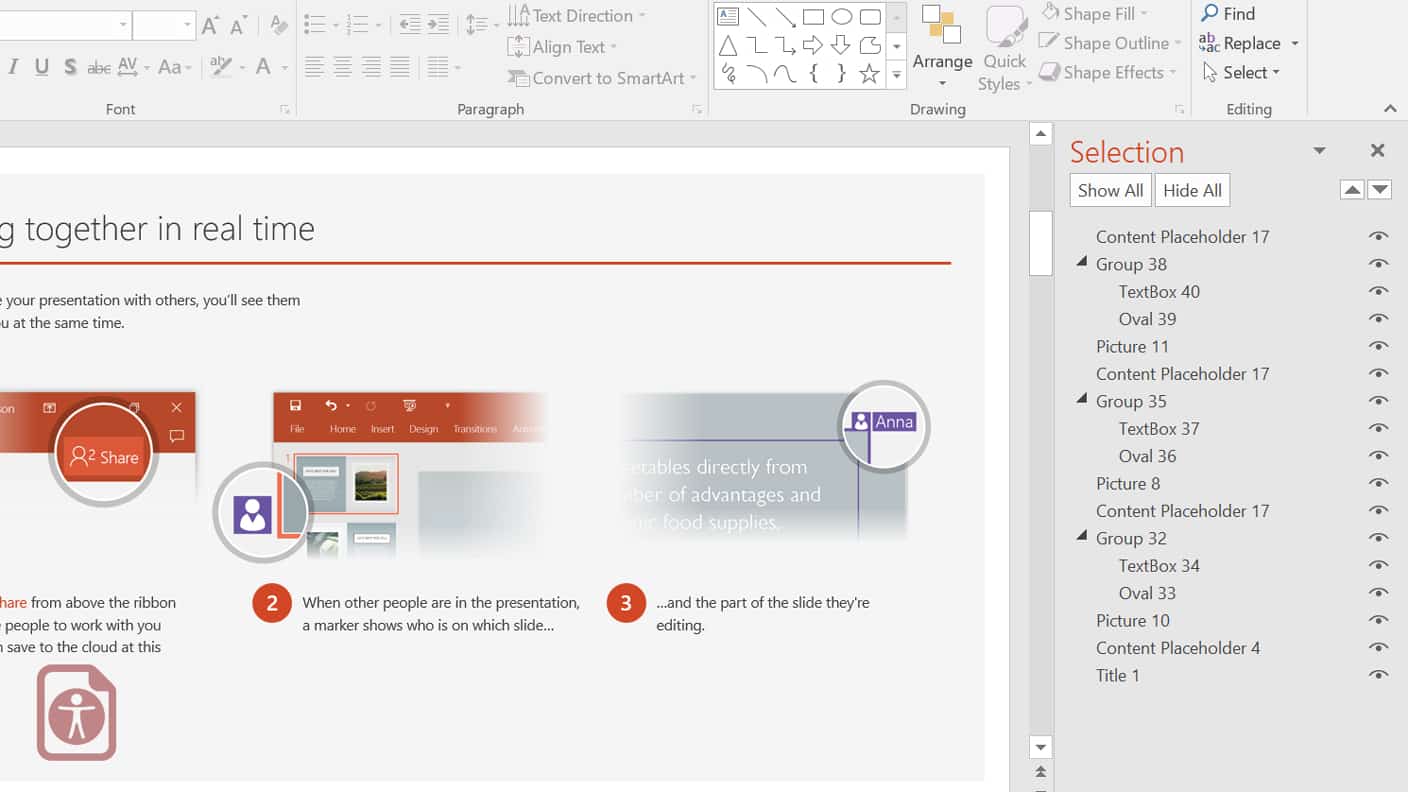
- On the Home tab, in the Drawing group, click Arrange and then choose Selection Pane. The Selection Pane can also be activated using the drop-down menu in the Edit group.
- The Selection Pane lists the objects on the slide. Objects will be read back beginning with the bottom list item and ending with the top list item. Correct any out of order items using the Re-order arrows on the bottom of the pane.
- Be sure to do this for ALL slides in your presentation.

Tables
- Tables should be used to represent tabular data, not to layout text on the slide.
- Define header rows (in the table properties).
- Keep your tables as simple as possible.
- Provide a caption or summary of the information presented in the table.
- Could the information in this table be represented in a simpler way using lists? Or using two separate simple tables?
- Use the table tools to create tables and not the ‘Draw Table’ option.
- Avoid merging and splitting cells.
Test your table by selecting the first cell of your table and then pressing the tab key. The focus should move across the row and then to the first cell next row down.
Add metadata and set the language
Check the color contrast
You should aim for at least a 70% difference in color value. Use a color contrast analyzer when in doubt. Alternatively, you can use the Grayscale feature:
- Select the View tab.
- In Color/Grayscale click on Grayscale.
- If you find it difficult to view properly, it means your color contrast is not sufficient.
- Click ‘Back to Color View’ in ‘Close’ to exit Grayscale.
What about the accessibility checker?
The accessibility checker that is built into PowerPoint is a great tool to help identify potential problems with your slideshow. Be advised that the criteria for the accessibility checker do not correspond to any accessibility standard. In other words, satisfying the accessibility checker does not ensure that you are meeting WCAG 2.0, AODA, ADA, or Section 508 requirements. Check out our article on about accessibility checkers.
Let Us Take Care of It!
Most people don’t realize just how difficult and time consuming it can be to properly create accessible PDFs from PowerPoint presentations. It goes far beyond adding a few tags and some alt-texts. There are no easy shortcuts. Why waste your valuable time? Let us apply our expertise and make your PowerPoint presentations accessible for everyone.
Free Accessibility Testing
Not sure if your existing documents are accessible or not? We will evaluate them for you, for free!
Request a Quote
Need a price estimate for your documents? We are happy to provide you with a free quote.
